Recommendation Info About How To Build Robot Chassis
How-to: Make A Chassis For Your Robot - Embedjournal

Build A Modular Robot Chassis Using Actobotics : 13 Steps (with Pictures) - Instructables

Wow! Amazing Diy Giant Robot Car At Home - Part 1 Youtube

How To Build A Diy Robot Chassis | Into Robotics

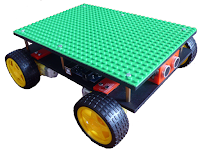
Diy Robot Chassis With Lego Platform
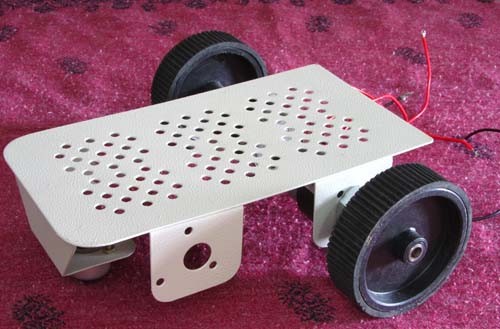
For a dc motor, all you need to do is take a sheet of aluminum, drill two holes in two of the corners, drill.
How to build robot chassis. Things to know before building a robot. A sheet of acrylic or plexiglass, about 6.5 x 4.5 inches (16.5 x 11.5cm) attach the wheels and motors to the chassis. Assemble and connect the parts to the processor.
The chassis shape should allow space for the robot’s other components such as the control system, motors, wheels, gears, and sprockets. On the back of the robot use a couple more zip ties to bunch the servo wiring. Adding camera and power led.
Using a couple small zip ties underneath the chassis. The main hurdle is navigating the bewildering number of options available for building a wheeled robot, including its microcontroller, chassis, motors, and sensors. Robotic & tank kit assembly.
Motor upgrade for more torque. Using the larger screws that come with the servos, attach the servo mounts to. The holes/slots in the chassis can be used handily for this.
Your servos come with two black box shaped rubber things that have holes in it. They are called servo mounts. Do the necessary wiring to.
3d printing will allow you to create custom shapes and components for your robot chassis. Rc robot car chassis kit assembly & upgrade.rc robot & tank chassis. Thread each wheel onto one of the motors.
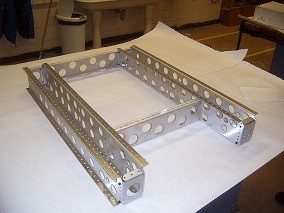
However, tracks and treads can be hard to make by yourself and might have to be bought from a site such as pimoroni or sparkfu n which provide great sets of tank tracks and. A good design practice is to lay out the chassis.
Designing The Chassis

Assemble The Wheels | Tri-layer Mini Round Robot Chassis Kit Adafruit Learning System

Diy Robot Chassis - Youtube

Build Robot Car Chassis Kit Arduino | Random Nerd Tutorials
How-to: Make A Chassis For Your Robot - Embedjournal

How To Build A Chassis - Youtube

Amazon.com: The Perseids Diy Robot Smart Car Chassis Kit With Speed Encoder, 2 Wheels And Battery Box (2 Wheels) : Toys & Games

Wheeled Robot Chassis : Buying & Diy Guide

Building A Robot: Chassis Introduction | Pyroelectro - News, Projects & Tutorials

Self-balancing Two-drive 2wd Diy Robot Kit Car Chassis Frame Acrylic Plate Sn150 | Kits, Robot,

Diy Robot Chassis : 8 Steps (with Pictures) - Instructables

Build Robot Car Chassis Kit Arduino | Random Nerd Tutorials

Best Off Road Robot Chassis With 4 Wheel Drive - How To Build An Youtube
